| |
Projection Painting

Workflow
- Create an object in your scene
- Make it editable
- Open the Material View from the "Plugins 4D->4D Paint" Menu
- Make sure you have your object selected in your scene
- In the Material View select "Create Single Material" from the Standard menu on the left.
- This will create a new material on your object
- It then adds a default color channel and texture to the channel based on the texture resolution settings in the "Preferences->Plugins 4D->Material View" section.
- Lastly it enables the material and texture for painting.
- From the "Plugins 4D->4D Paint" menu select the Paint Brush Standard tool.
- Open the "Plugins 4D->4D Paint->Content View"
- Find an image you would like to project onto your model.
- Ctrl+Click on the image to set it as a stencil, you can also right click and choose it from the menu.
- Go back to the 3D Viewport
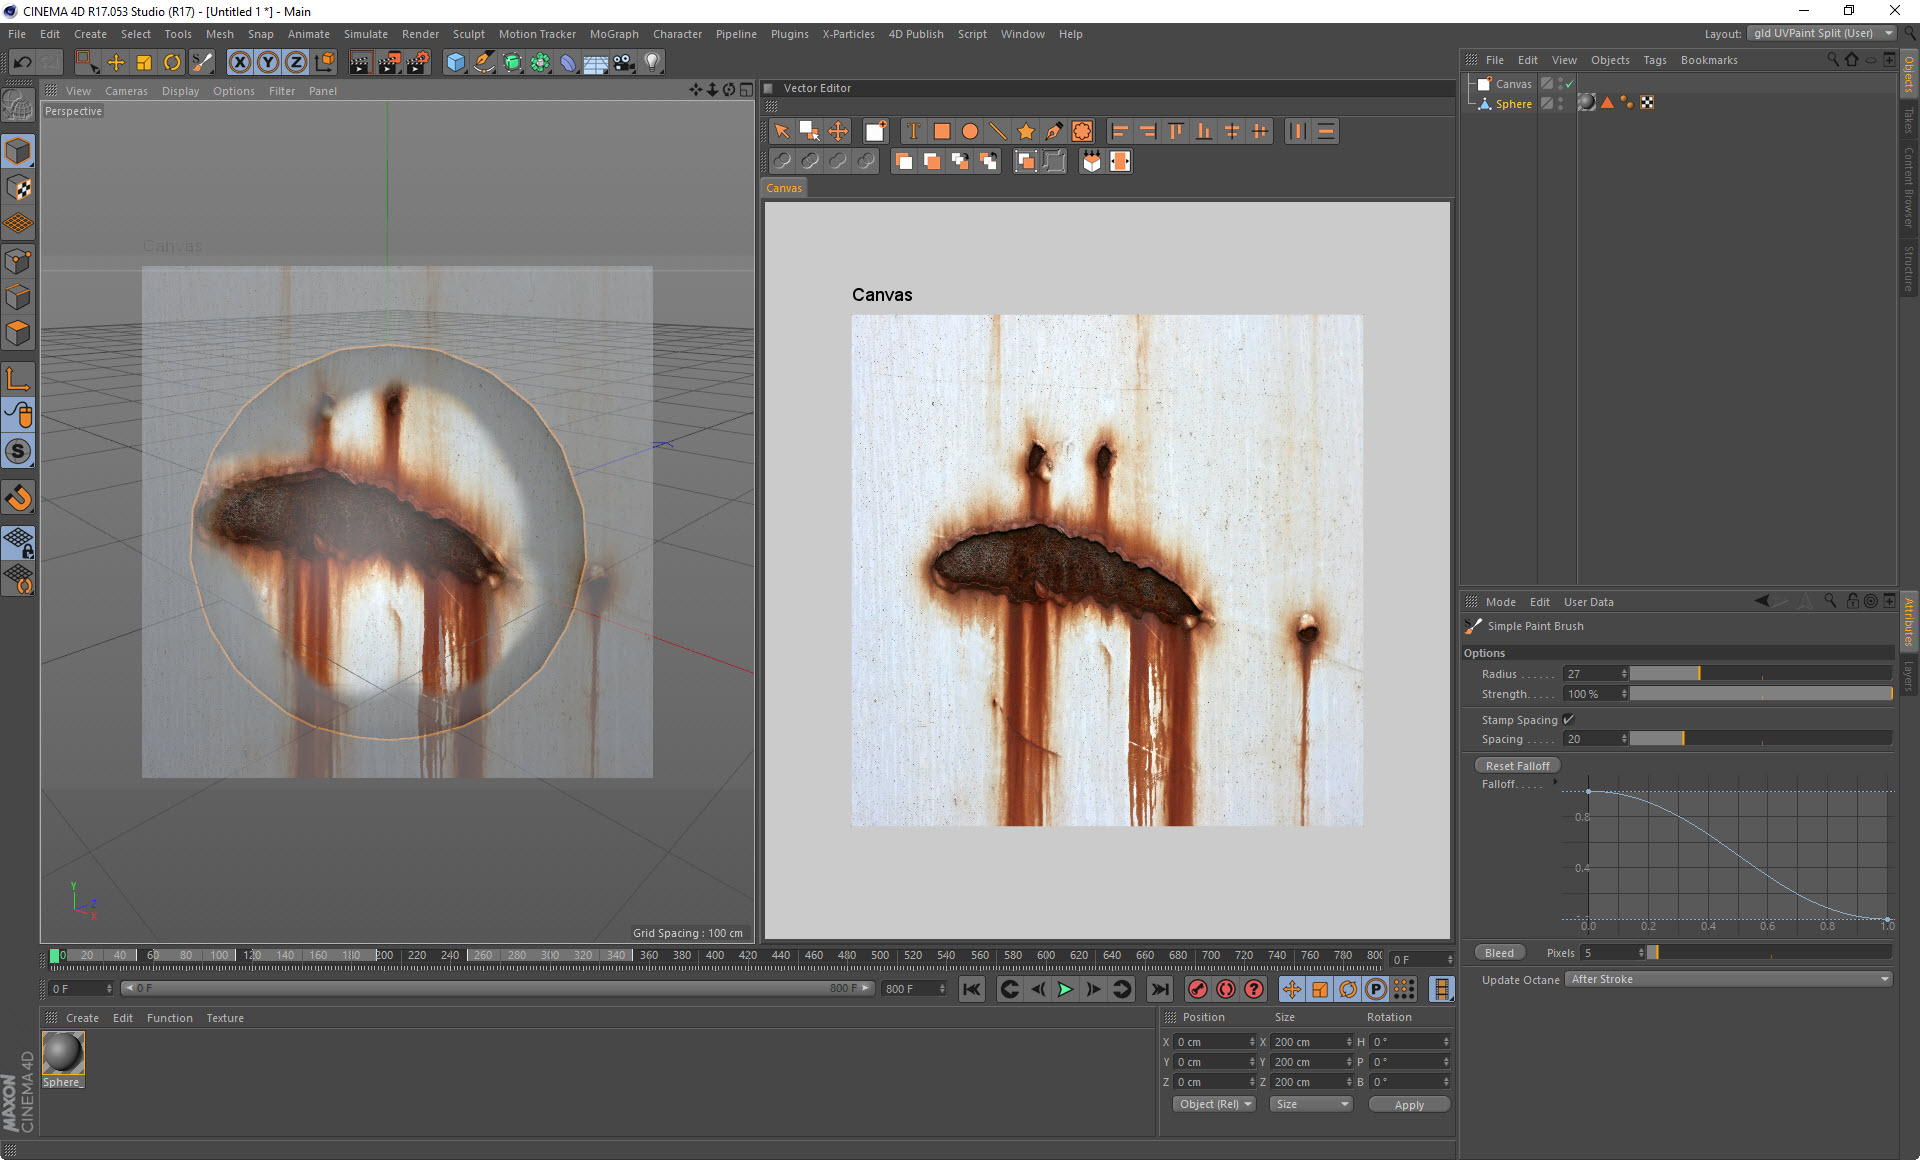
- You will see that there is now a transparent image displayed in the viewport.
- Start painting this down onto your model that is underneath the image
- You can move the image around by setting up a Hotkey for it. Or you can selecting the Canvas in the Object Manager, changing to its Viewport Tab and move it in the Translate field. Just make sure to reselect your Object again before painting.

