4D Paint | Painting | Paint Brush
Most of the limitations of the Paint Brush can be overcome by Subdividing the mesh using the Sculpting System. This will add more points to the object allowing brushes to intersect points on the mesh which results in different algorithms being used to correctly place down texture on the models.
Note: You can only paint on Sculpt Objects (Polygon Objects with a Sculpt Tag) when in Model mode. Sculpt Tool based brushes do not work on Sculpt Objects when you are in Polygon, Point or Edge mode.
With your Polygon Object selected switch to the Sculpting Layout.
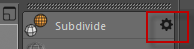
Now select the cog button on the Subdivide button.
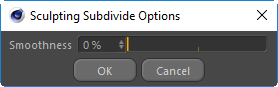
Since we don’t want to change the shape of the object while painting we need to make sure it doesn’t smooth the surface in any way. So set the smoothness value to 0 and press OK.
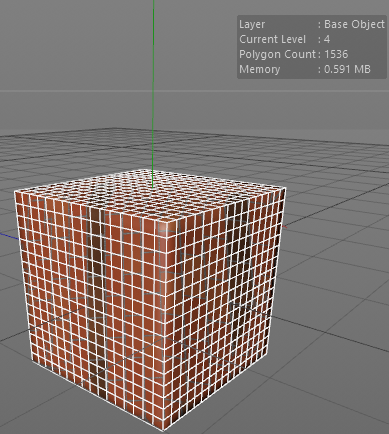
Now press the Subdivide Button a few times to get more polygons on your object.
You don’t need to go very high. Just enough so that the brush will overlap points on the mesh is fine.
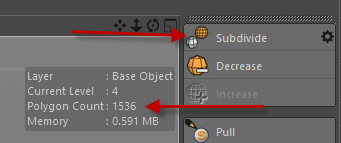
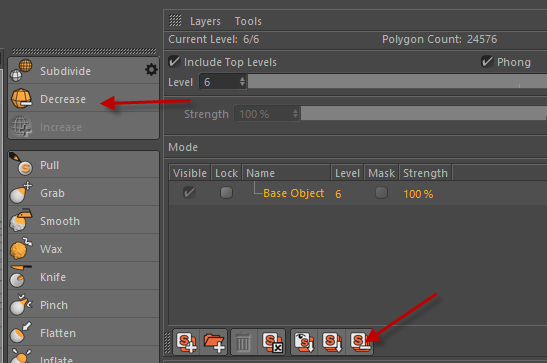
If you have subdivided too high and want to remove higher levels then you can do this from the Sculpting Tag. First go down to the subdivision level you want to be at by clicking the “Decrease Button”. Then double click the Sculpt Tag and press the “Delete Higher Levels” button.
The Sculpt Tag looks like this on your object. Double clicking this tag will switch to show the sculpt layer manager.
This image shows the Decrease button and the Delete Higher Levels button.
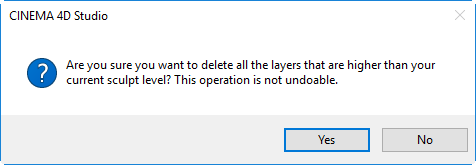
Press OK when the warning message appears. It is simply stating that this operation is not undoable, which is ok for this situation.