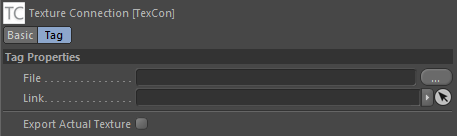
Texture Connections
Quick Start
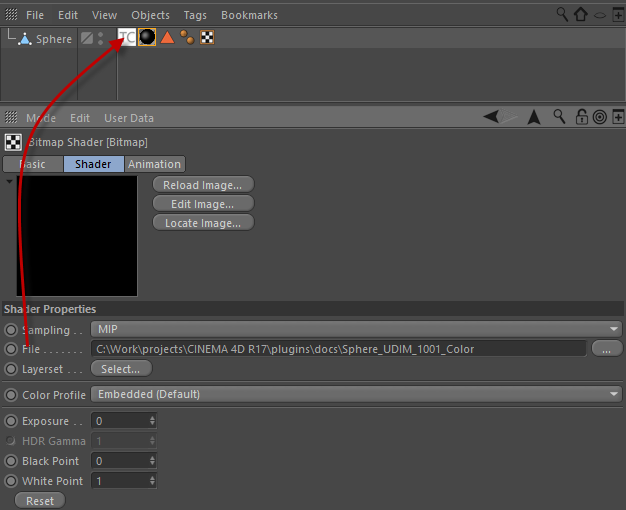
- Right Click on an object in the Object Manager and add a TexCon tag
- Drag and a Texture or File onto the TexCon tag and it will link it.
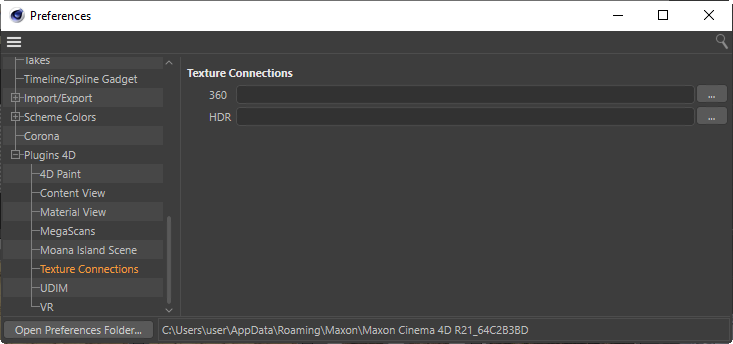
- Now open the Preferences and set a file path for your HDR images.
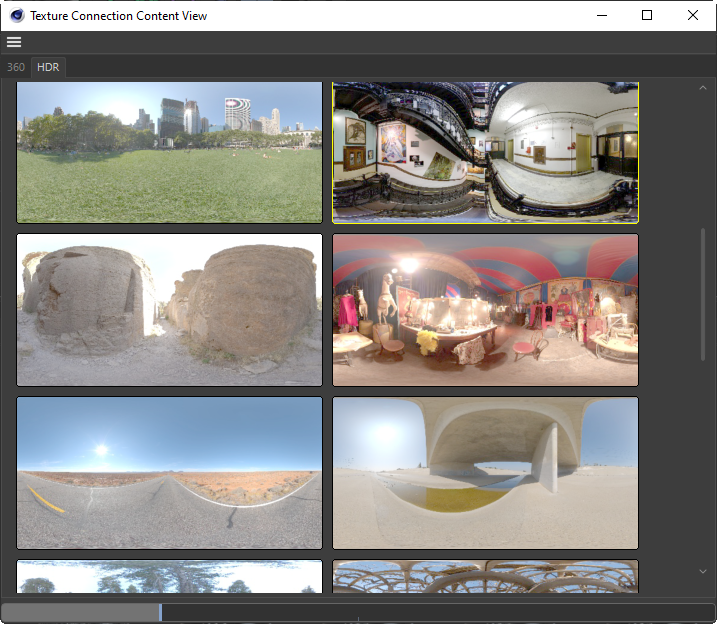
- Next open the Plugins 4D -> Texture Connections dialog.
- Thumbnails will be generated in the same folder as you specified your HDR image path. The folder will be called uvpaint
- The next time you open the Texture Connections view it will be a lot faster due to the thumbnails created.
- Now select an image in the HDR tab and all TexCon links will be changed to use this image.
- The Export Actual Texture option is used by the PDF exporter and also the VR Viewer. It tells them to use the actual image itself instead of sampling it from the shader. The file size may be bigger but the quality will be a lot better when using the actual image instead of sampling.
Dragging a Texture

Dragging a Filename
Set Folders in the preferences
Set the folders to use for your 360 images and your HDR images. In the HDR folder it will only read in HDR and EXR file formats. The 360 folder will read in all file formats.
Select from Texture Connections Content View
If you select ANY image in the 360 or HDR image tab then it will change ALL of the Texture Connection tags to use this image.
Simply left mouse click to set the image to use for all Tex Con tags.